Crispy Deep-Fried Turkey Cutlets
Bread turkey breast cutlets with seasoned flour and panko, then deep-fry in small batches. Includes oil-temperature and poultry-safety checks.
Prep
20 minutes
Cook
15 minutes
Rest
5 minutes
Total
40 minutes
Servings
4
Difficulty
Easy
Cut
Turkey breast cutlets
Method
Deep fried
Safe internal temperature
74°C / 165°F
Nutrition per serving
515 calories
- Protein
- 43g
- Fat
- 24g
- Carbs
- 29g
- Fiber
- 2g
- Sat. fat
- 5g
- Sugar
- 2g
- Sodium
- 780mg
Nutrition values are estimates based on the listed ingredients and serving size.
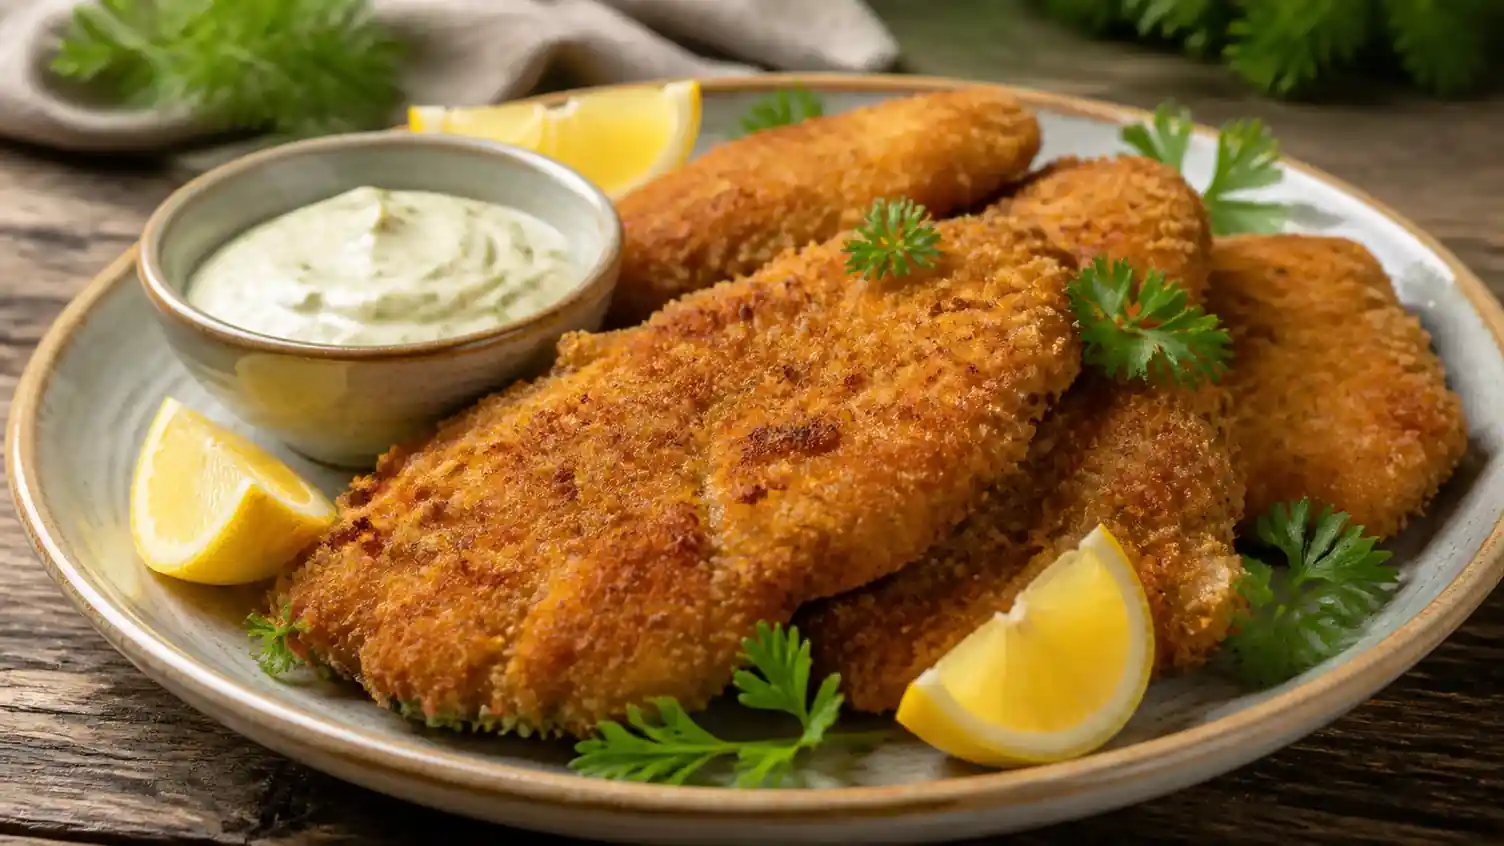
If you want a crisp turkey dinner without waiting for a whole roast, these deep-fried turkey cutlets fit the bill. Thin turkey breast cutlets cook quickly and take on a crunchy, seasoned breadcrumb coating while the center stays tender. Finish them with lemon and the cool herb dip for a weeknight dinner that feels a little more special.
The method is straightforward: dry the turkey well, build a light flour-egg-crumb coating, and keep the oil at a steady temperature. Serve the cutlets whole, slice them over a salad, or tuck them into warm flatbread with crunchy vegetables.
Why You'll Love This Recipe
- Turkey breast cutlets cook in minutes, so the main work is done once the oil is hot.
- The three-part coating turns crisp without becoming thick or heavy.
- Lemon, paprika, garlic, and parsley keep the flavor bright and familiar.
- You can use a countertop deep fryer or a heavy Dutch oven with a thermometer.
- Leftovers are good in a sandwich or grain bowl the next day.
Recipe Information
This recipe makes 4 servings from 1 1/2 pounds of turkey breast cutlets. Allow 20 minutes for prep, 15 minutes for frying, and 5 minutes for resting, for 40 minutes total. Fry the turkey at 175°C / 350°F, working in small batches to keep the oil temperature steady.
Turkey is safely cooked when the thickest part reaches 74°C / 165°F. Check a larger cutlet with an instant-read thermometer after frying; the crust is not enough to judge doneness. If it needs more time, return it to the oil for 30 to 60 seconds, then check again.
Ingredients
- 1 1/2 pounds turkey breast cutlets, about 4 thin pieces
- 1 teaspoon fine salt, divided
- 1/2 teaspoon black pepper
- 1 teaspoon sweet paprika
- 1 teaspoon garlic powder
- 1/2 teaspoon onion powder
- 1/2 cup all-purpose flour
- 2 large eggs
- 1 tablespoon water
- 1 1/2 cups plain panko breadcrumbs
- 1/3 cup finely grated Parmesan-style hard cheese, optional
- 1 tablespoon chopped fresh parsley, plus more to finish
- Neutral frying oil with a high smoke point, such as canola, sunflower, or avocado oil
- Lemon wedges, for serving
For the quick herb dip, stir together 1/2 cup plain Greek yogurt, 1 tablespoon lemon juice, 1 tablespoon chopped parsley, a pinch of salt, and a pinch of black pepper. The dip is optional, but its tangy flavor works especially well with the crunchy coating.
Step-by-Step Instructions
1. Prepare the turkey and breading station
Place the turkey cutlets between two sheets of parchment and gently pound the thicker spots until each piece is about 1/2 inch thick. Even thickness helps the cutlets cook at the same pace. Pat the turkey completely dry with paper towels, then season both sides with 1/2 teaspoon salt and the black pepper.
Set out three shallow bowls. In the first, mix the flour with the paprika, garlic powder, onion powder, and remaining 1/2 teaspoon salt. In the second, whisk the eggs with the water. In the third, combine the panko, optional cheese, and parsley. Keep a clean tray beside the bowls for the breaded cutlets.
2. Bread each cutlet
Coat one cutlet in the seasoned flour and shake off the excess. Dip it into the egg, let the extra drip away, then press it into the panko mixture. Turn it over and press again so the crumbs cover the surface evenly. Place it on the tray and repeat with the remaining turkey.
Let the breaded cutlets stand for 5 minutes while the oil heats. That short rest helps the coating cling during frying. Keep them in a single layer; stacking can soften the crumb layer.
3. Heat the oil safely
Add oil to the deep fryer up to its fill line, or pour 2 to 3 inches into a heavy Dutch oven. Heat it to 175°C / 350°F. If you're using a pot, clip a deep-fry thermometer to the side with its tip in the oil but not touching the bottom.
Keep a sheet pan fitted with a wire rack nearby. Excess oil can drain away while the underside stays crisp. Never overfill the fryer or pot, and make sure the turkey is dry before it goes into the oil. Water can cause dangerous splattering.
4. Fry until crisp and cooked through
Lower 1 or 2 cutlets into the hot oil, depending on the size of your fryer or pot. Leave space around them. Fry for 3 to 4 minutes per side, turning once with tongs, until the crust is deep golden brown. The oil should bubble actively but not violently, so adjust the heat as needed to keep it close to 175°C / 350°F.
Move the cutlets to the wire rack and immediately check the thickest piece. It must reach 74°C / 165°F. Fry the remaining batches, letting the oil return to temperature between batches. Sprinkle the finished cutlets lightly with parsley and serve with lemon wedges.
Tips for Best Results
Use thin, even cutlets. A thick piece can brown before the center is done, while an uneven piece may leave you with dry, thin edges. If your turkey breast isn't already sliced, cut it horizontally into broad pieces and pound it gently rather than tearing the meat.
Watch the oil temperature throughout cooking. Oil that's too cool makes the coating greasy; oil that's too hot browns the crumbs before the turkey is safe to eat. A 10 to 15 degree dip after adding the turkey is normal, but give the oil a minute to recover before the next batch.
Salt the turkey before breading rather than after frying. The seasoning stays close to the meat, and the panko remains crisp. For a lighter finish, drain the cutlets on a rack instead of a paper-towel-lined plate, where steam can collect underneath.
Ingredient Substitutions
Regular fine breadcrumbs work in place of panko, although the crust will be less craggy. For a gluten-free version, use a cup-for-cup gluten-free flour blend and certified gluten-free panko. Skip the optional cheese for a dairy-free coating, or replace it with an extra tablespoon of panko and a pinch of nutritional yeast.
Chicken breast cutlets can use the same method and timing, but always check for 74°C / 165°F. For more heat, add 1/4 teaspoon cayenne to the flour mixture or stir a little hot sauce into the yogurt dip. If you're after a different turkey dinner, try these grilled turkey legs for smoky flavor instead of a crisp crust.
What to Serve With Crispy Turkey Cutlets
Balance the rich, crunchy coating with something fresh and acidic. A tomato-cucumber salad, lemony green beans, shredded cabbage slaw, or roasted carrots all work well. For a more substantial meal, serve the cutlets with rice pilaf, smashed potatoes, or warm flatbread and the herb dip.
For a turkey-focused menu, browse more turkey recipes, make a lighter bowl with this turkey rice soup, or plan another quick dinner with ground turkey and pasta recipes. You can also slice the cutlets into a lunch wrap with lettuce and lemon yogurt sauce.
Storage Instructions
Cool leftover turkey cutlets on the rack until the steam has stopped, then refrigerate them in an airtight container within 2 hours. Store them for up to 3 days. To help the coating stay crisp, place a small sheet of parchment between stacked cutlets.
For longer storage, freeze cooled cutlets in a single layer on a lined tray until firm. Transfer them to a freezer-safe container with parchment between layers and use them within 2 months for the best texture. Thaw overnight in the refrigerator before reheating.
Reheating Instructions
Reheat refrigerated cutlets on a wire rack set over a baking sheet at 200°C / 400°F for 10 to 12 minutes, turning once, until hot and crisp. An air fryer at 190°C / 375°F also works well; cook for 4 to 6 minutes, turning halfway through. Reheat leftovers to 74°C / 165°F before serving.
Avoid the microwave if crispness matters, because it softens the coating. If it's your only option, heat the cutlet just until warm, then finish it in a dry skillet over medium heat for a minute or two per side.
Frequently Asked Questions
Can I use a whole turkey breast instead of cutlets?
Yes, but slice it into thin, even pieces first. A whole turkey breast is too thick to fry as one piece with this quick method. Aim for cutlets about 1/2 inch thick, then verify that the center reaches 74°C / 165°F.
Why is my breading falling off?
The usual causes are wet turkey, too much loose flour, or moving the cutlet too soon in the oil. Pat the turkey dry, shake off excess flour, press the panko firmly onto the egg coating, and let the breaded pieces rest for 5 minutes before frying.
Can I prepare these ahead?
You can bread the cutlets up to 2 hours ahead and refrigerate them uncovered on a rack. Fry them just before serving for the crispiest result. Don't leave raw turkey at room temperature while you wait for the oil to heat.
Conclusion
These deep-fried turkey cutlets make a crisp, quick turkey dinner without turning the meal into a holiday-sized project. Keep the cutlets thin, hold the oil near 175°C / 350°F, and use a thermometer to check for a juicy, safely cooked center. Finish with lemon and herbs, and you've got a golden dinner worth making again.
Cutlets need a different setup from a whole turkey
This recipe is for breaded breast cutlets, not a whole bird or an outdoor turkey fryer. Follow the fryer's fill line; for a pot, leave plenty of empty space above the oil. Lower dry, fully thawed cutlets slowly and keep children away from hot oil. If a cutlet is below 165°F, continue cooking and check again before serving.
For a non-fried turkey dinner, try garlic-lemon turkey chops.
Food Safety
Cook poultry, including ground chicken and turkey, to 165°F. Check with a food thermometer rather than color alone. See the USDA minimum temperature chart. Refrigerate perishables within 2 hours, or within 1 hour above 90°F; see USDA leftover handling guidance.
Keep cooking
You might also like
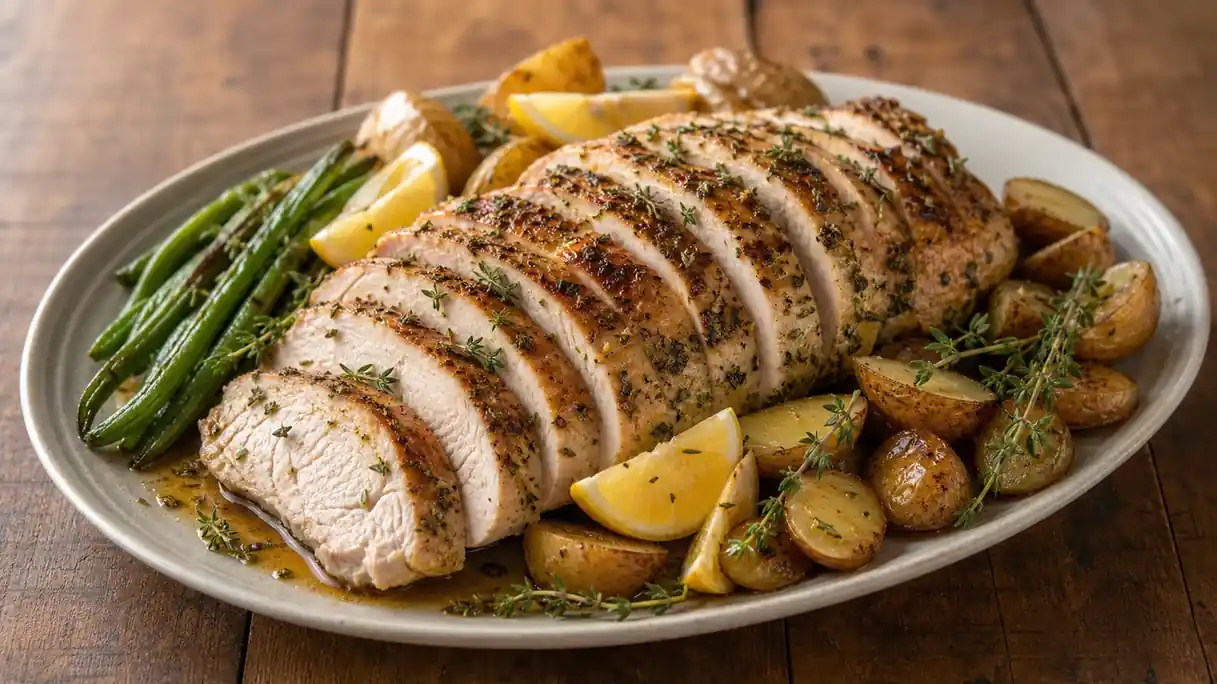
Wild Turkey Recipes: Easy Herb-Roasted Breast Dinner
These wild turkey recipes start with a juicy herb-roasted breast, crisp potatoes, and green beans for an easy, flavorful dinner with reliable cooking tips.
Turkey · Prep 20 minutes · Cook 40 minutes
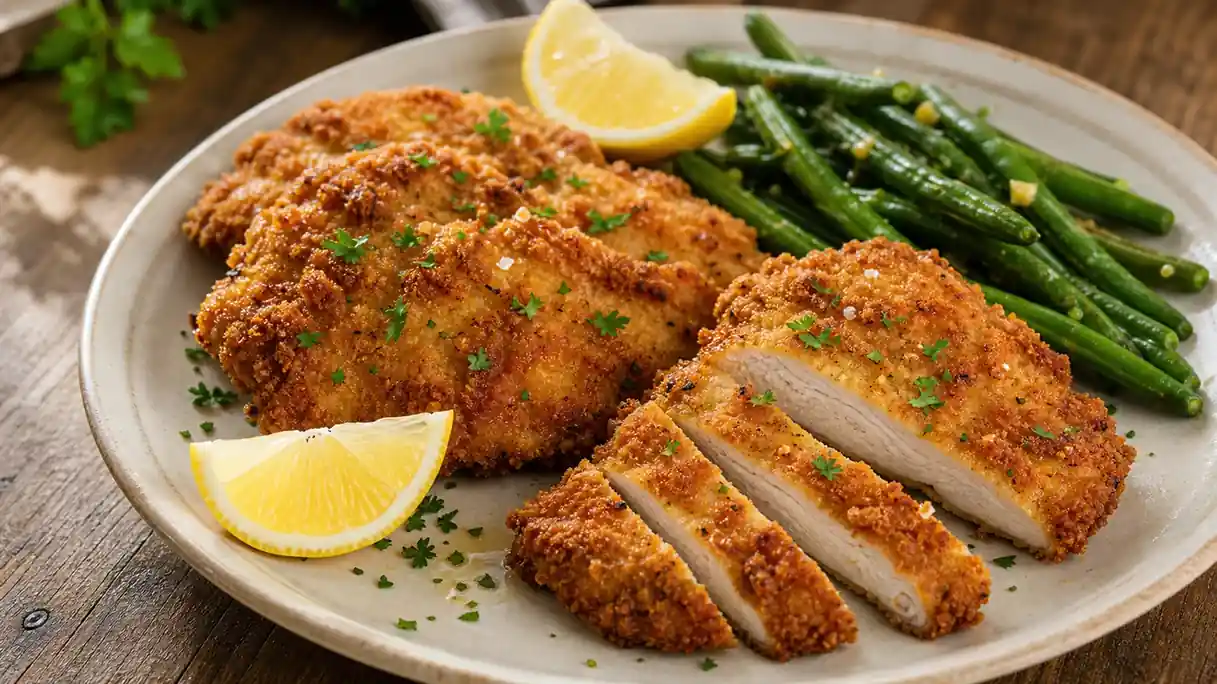
Fried Turkey Recipe: Crispy Skillet Turkey Cutlets
Make this fried turkey recipe with juicy, crispy breaded turkey cutlets, simple pantry seasoning, and a fast skillet method for an easy family dinner.
Turkey · Prep 20 minutes · Cook 16 minutes
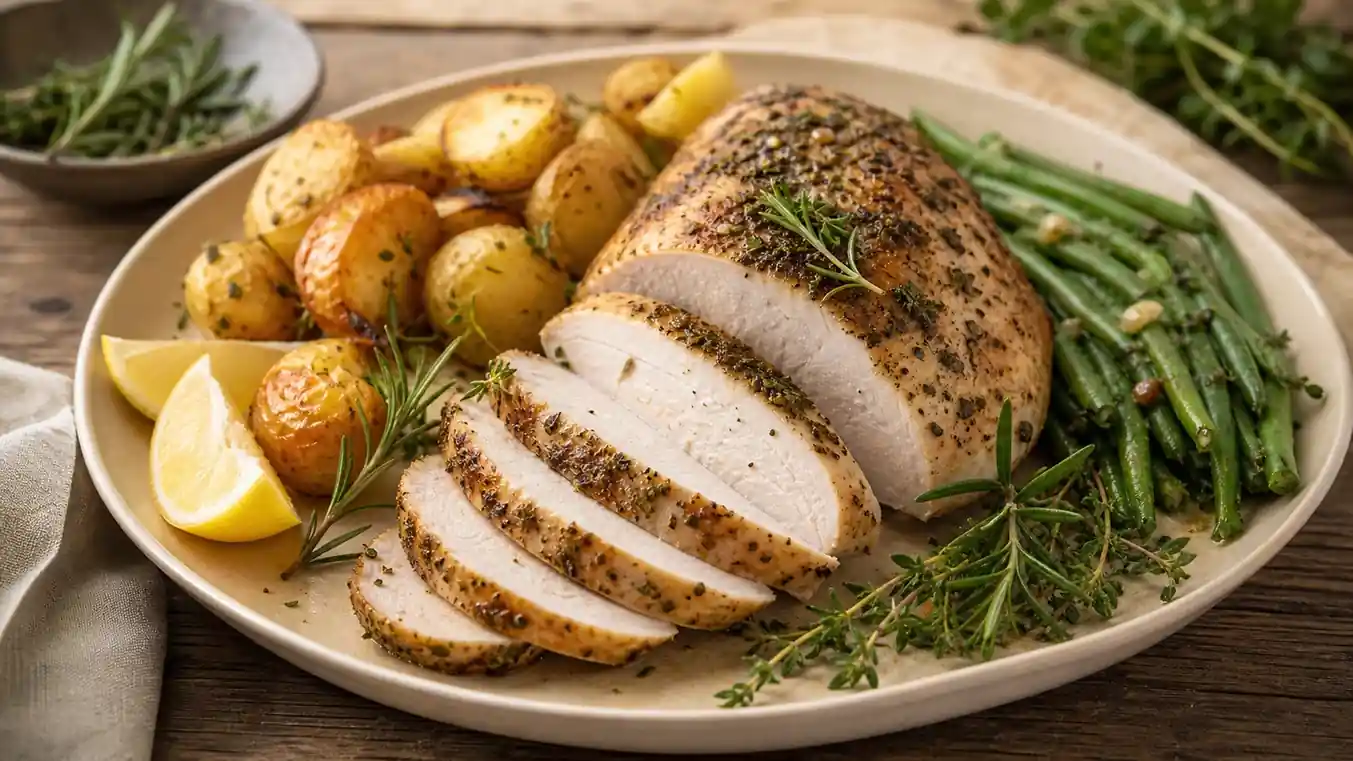
Easy Turkey Breast Tenderloin Recipes for a Juicy Dinner
These turkey breast tenderloin recipes make a juicy garlic-herb roast with simple ingredients, clear temperature guidance, and easy dinner sides.
Turkey · Prep 15 minutes · Cook 30 minutes