Gravy with Turkey Drippings Recipe: Rich, Easy, and Fast
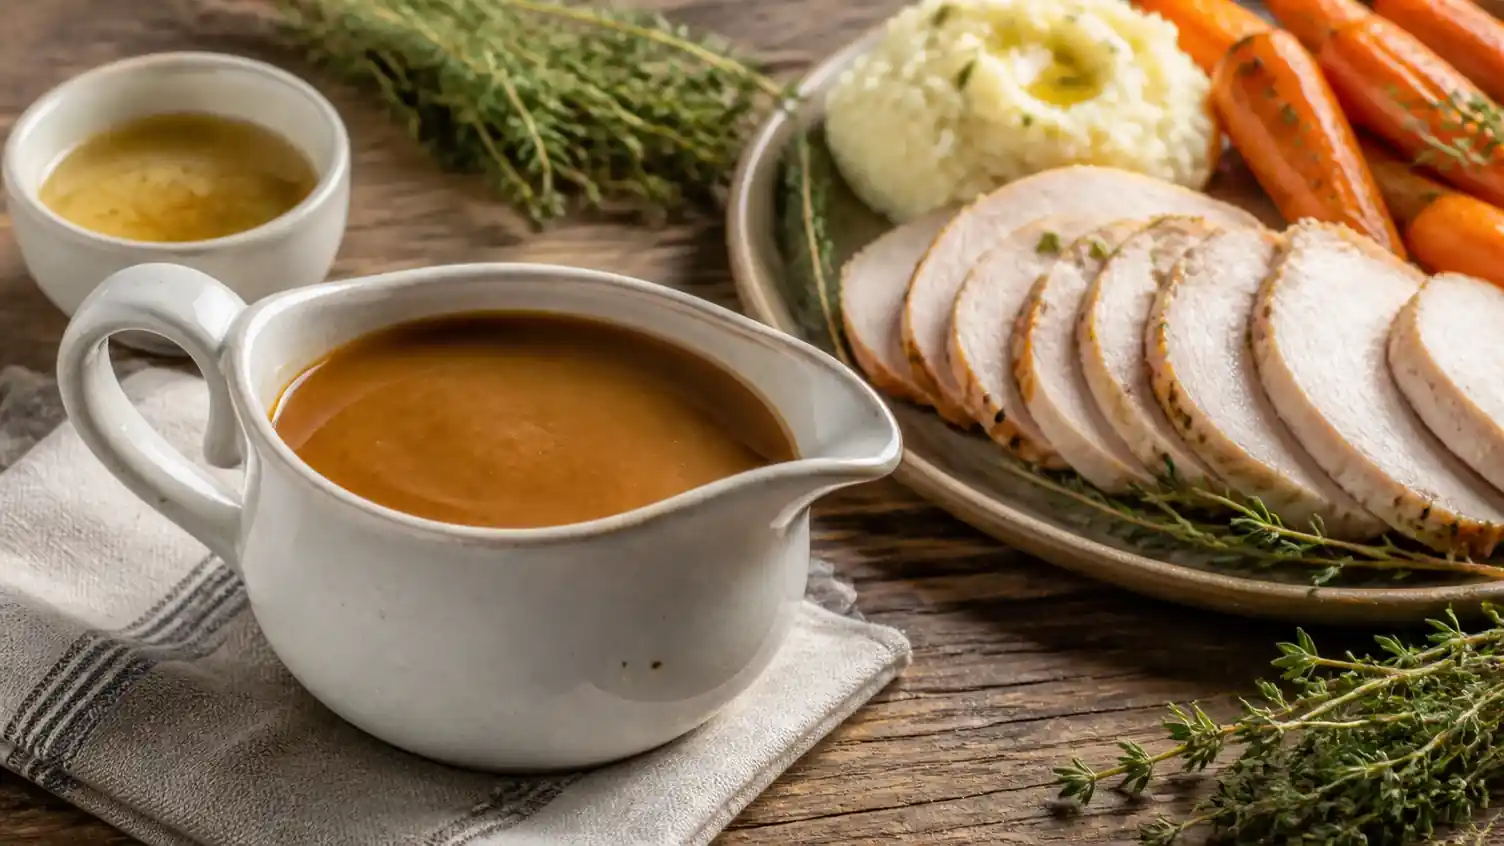
Make this gravy with turkey drippings recipe for a smooth, savory sauce with rich roast flavor, perfect for turkey, mashed potatoes, vegetables, and roasts.
Prep
15 minutes
Cook
15 minutes
Rest
0 minutes
Total
30 minutes
Servings
4
Difficulty
Easy
Cut
Roasted turkey drippings
Method
Stovetop simmered
Safe internal temperature
74°C / 165°F
Nutrition per serving
200 calories
- Protein
- 5g
- Fat
- 13g
- Carbs
- 15g
- Fiber
- 1g
- Sat. fat
- 6g
- Sugar
- 2g
- Sodium
- 620mg
Nutrition values are estimates based on the listed ingredients and serving size.
This gravy with turkey drippings recipe turns the juices in your roasting pan into a smooth, savory sauce in about 30 minutes. Butter and flour make a simple roux, and strained turkey drippings plus stock bring the deep roasted flavor. It is just right for mashed potatoes, sliced turkey, vegetables, or a roast.
The best time to control the gravy is before it goes into the pan: separate off most of the excess fat, then wait to add salt until the sauce has simmered. Drippings can be much saltier after a brined or heavily seasoned turkey. Taste at the end, loosen the gravy with warm stock if needed, and you will have a glossy sauce without a packet mix.
Why You’ll Love This Recipe
- It uses the flavorful juices left in the roasting pan.
- The method needs familiar pantry ingredients and one saucepan.
- You can adjust the thickness, salt level, and turkey flavor.
- It can be made ahead and gently reheated before dinner.
- The finished gravy is smooth enough to pour but thick enough to coat a spoon.
Recipe Information
| Detail | Amount |
|---|---|
| Preparation time | 15 minutes |
| Cooking time | 15 minutes |
| Resting time | 0 minutes |
| Total time | 30 minutes |
| Servings | 4 |
| Safe temperature for turkey leftovers | 74°C / 165°F |
The drippings here come from fully cooked turkey. If you stir chopped cooked turkey into the gravy or serve it with leftovers, reheat the turkey to 74°C / 165°F before serving. The gravy should be steaming hot, but a thermometer is most useful for checking the meat rather than the sauce.
Ingredients
- 1 1/2 cups turkey drippings from a roasted turkey, strained
- 2 cups low-sodium turkey or chicken stock, warmed, divided
- 3 tablespoons unsalted butter
- 1/3 cup all-purpose flour
- 1 small shallot, very finely minced
- 1 teaspoon fresh thyme leaves, or 1/4 teaspoon dried thyme
- 1/4 teaspoon fine salt, plus more only if needed
- 1/2 teaspoon freshly ground black pepper
- 1 teaspoon lemon juice, optional
Use drippings from a turkey roasted without alcohol-based marinades or sauces. Pour them through a fine-mesh sieve to catch herbs and browned pieces that could make the gravy gritty. Let the liquid stand for a few minutes, then spoon off most of the clear fat. You can keep 1 tablespoon of the flavorful fat for extra body without making the gravy heavy.
Step-by-Step Instructions
1. Strain and measure the drippings
Set a fine-mesh sieve over a heat-safe measuring jug and pour in the pan drippings. Press gently on soft roasted onion or garlic if you want to extract its flavor, but leave burnt pieces behind. Let the liquid settle for 5 minutes, then spoon off the excess fat. Measure 1 1/2 cups of strained liquid. If you have less, add warm stock to make up the difference.
2. Soften the shallot
Melt the butter in a medium saucepan over medium heat. Add the shallot and cook for 2 to 3 minutes, stirring often, until translucent and fragrant. Stir in the thyme and cook for 30 seconds. Keep the heat moderate so the shallot does not brown and give the pale gravy a bitter flavor.
3. Make a blond roux
Sprinkle in the flour and whisk until the butter has absorbed it. Cook for 2 minutes, whisking steadily, until the mixture smells lightly toasted and turns pale golden. This brief cooking time removes the raw flour taste while leaving the roux enough thickening power for a silky sauce.
4. Whisk in the turkey drippings
Start with a small splash of strained drippings and whisk until smooth, then gradually whisk in the rest of the measured 1 1/2 cups. The roux will be very thick at first, so take a moment to work out any lumps before adding more. Whisk in 1 1/2 cups of warm stock in two additions. Bring the gravy to a gentle simmer and cook for 6 to 8 minutes, whisking often, until it coats the back of a spoon.
5. Season and adjust
Stir in the pepper and 1/4 teaspoon salt, then taste. For thinner gravy, add the remaining stock a tablespoon at a time. For thicker gravy, simmer for another minute or two. Add the lemon juice only if the sauce tastes especially rich and needs a little lift. Serve hot.
Tips for Best Results
Warm stock incorporates into a roux more easily than refrigerator-cold stock, so heat it in a small saucepan or a microwave-safe cup before you start. Add it in stages and whisk into the corners of the pan. If a few lumps remain, pour the gravy through a clean fine-mesh sieve before serving.
Hold off on salting until the end. The roast may have concentrated seasoning in the drippings, and the sauce becomes saltier as it reduces. If the flavor tastes flat but not salty, black pepper, thyme, or a few drops of lemon juice will help more than extra salt.
For a deeper brown color, use more browned pan juices and a little less stock. Do not scrape blackened residue into the sauce; it will taste bitter. A gentle simmer is enough. A hard boil can make the surface foamy and reduce the gravy too quickly.
Ingredient Substitutions
Chicken drippings work in place of turkey drippings, especially with oven-baked chicken thighs. If you do not have much pan liquid, use 1/2 cup drippings and increase the warm stock to 3 cups. The sauce will be lighter, but it will still have good flavor.
For a gluten-free version, leave out the butter-and-flour roux. Bring the drippings, stock, shallot, and thyme to a simmer, then whisk in a slurry made with 2 tablespoons cornstarch and 2 tablespoons cold water. Simmer for 1 to 2 minutes after adding it. Use olive oil or a dairy-free butter alternative if you also need dairy-free gravy.
Fresh sage or rosemary can replace the thyme, but use less: 1/2 teaspoon finely chopped fresh sage or 1/4 teaspoon minced rosemary is enough. Yellow onion is an easy substitute for the shallot; use 2 tablespoons, minced very finely.
What to Serve With
Spoon this gravy over sliced roast turkey, mashed potatoes, stuffing, rice, or roasted carrots. It is especially helpful with lean turkey breast because it adds moisture and savory flavor. Pair it with a centerpiece from these turkey breast tenderloin recipes, then save extra gravy for sandwiches the next day.
For more ideas, browse turkey recipes, make a flavorful turkey rub, or save the bones for turkey bone broth. Green beans and roasted potatoes are all you need for an easy plate that lets the gravy shine.
Storage Instructions
Cool leftover gravy promptly. Transfer it to a shallow airtight container within 2 hours of cooking and refrigerate for up to 3 days. For longer storage, freeze it in small portions for up to 2 months, leaving a little room at the top for expansion.
Thaw frozen gravy overnight in the refrigerator. Flour-thickened sauces may separate slightly after freezing, but whisking steadily as the gravy reheats will bring it back together. Do not thaw it on the counter, where the outside can warm before the center is safely defrosted.
Reheating Instructions
Reheat the gravy in a small saucepan over medium-low heat, stirring frequently, until steaming hot. If it has thickened in the refrigerator, add warm stock or water a tablespoon at a time. In a microwave, cover it loosely and heat in 30-second intervals, whisking between intervals.
If you are serving the gravy with leftover turkey, heat the turkey separately until it reaches 74°C / 165°F, then spoon the hot gravy over it. Reheat only the amount you plan to serve whenever possible; repeated cooling and reheating can dull the texture and flavor.
Frequently Asked Questions
How do I make this gravy with turkey drippings recipe less greasy?
Strain the drippings, let them settle, and spoon off most of the clear fat before measuring. If you have time, refrigerate the drippings for 15 to 20 minutes so the fat firms up on top and is easier to remove. The butter in the roux provides enough richness for the finished sauce.
Why is my turkey gravy too thin?
Let it simmer gently for a few more minutes, whisking often. The flour needs time to hydrate and thicken the liquid. If it is still too thin, whisk together 1 tablespoon cornstarch and 1 tablespoon cold water, then add the mixture a little at a time to the simmering gravy.
Why is my gravy lumpy?
Lumps usually form when liquid goes into a hot roux too quickly. Add warm stock in stages and whisk continuously. For a finished gravy with stubborn small lumps, pass it through a fine-mesh sieve.
Can I make this gravy ahead?
Yes. Make it up to 3 days ahead, cool it promptly, and refrigerate it. Reheat it slowly with a splash of stock just before dinner. Taste again after reheating because the seasoning can taste different once the sauce is hot.
Conclusion
This gravy with turkey drippings recipe is an easy way to use the best flavors left in your roasting pan. Strain and defat the drippings, whisk them patiently into a simple roux, and season at the end. The result is a smooth, comforting sauce for turkey dinner and the leftovers that follow.
Nutrition is an estimate per serving and will vary with the exact turkey drippings, stock, and butter used.
Add all the measured drippings
Whisk the strained drippings into the roux gradually, adding each splash only after the previous one is smooth. Then add the stock. Taste near the end because drippings from a brined turkey may already be salty. When reheating stored gravy, bring it to a rolling boil while stirring, adding stock if needed to restore a pourable texture.
Collect the drippings from this garlic-herb turkey breast roast.
Food Safety
Cook poultry, including ground chicken and turkey, to 165°F. Check with a food thermometer rather than color alone. See the USDA minimum temperature chart. Refrigerate perishables within 2 hours, or within 1 hour above 90°F; see USDA leftover handling guidance.
Keep cooking
You might also like
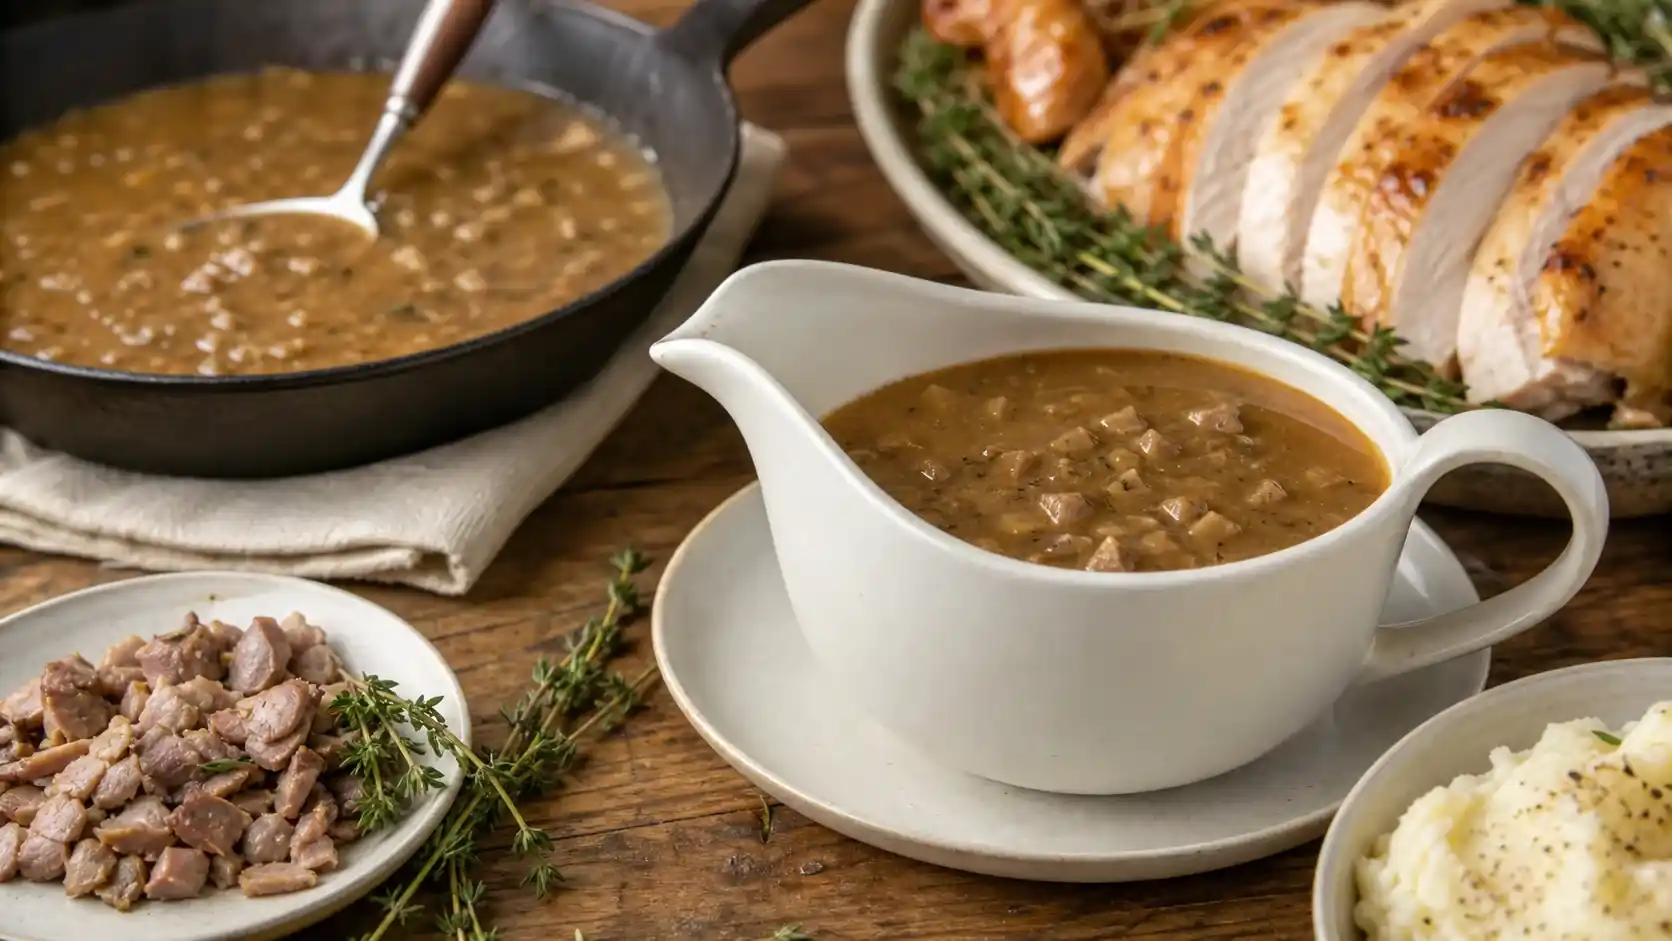
Turkey Giblet Gravy Recipe: Rich, Smooth, and Easy
Make this turkey giblet gravy recipe with tender giblets, savory stock, and herbs for a rich, silky sauce for roast turkey, potatoes, and holiday dinners.
Turkey · Prep 20 minutes · Cook 50 minutes
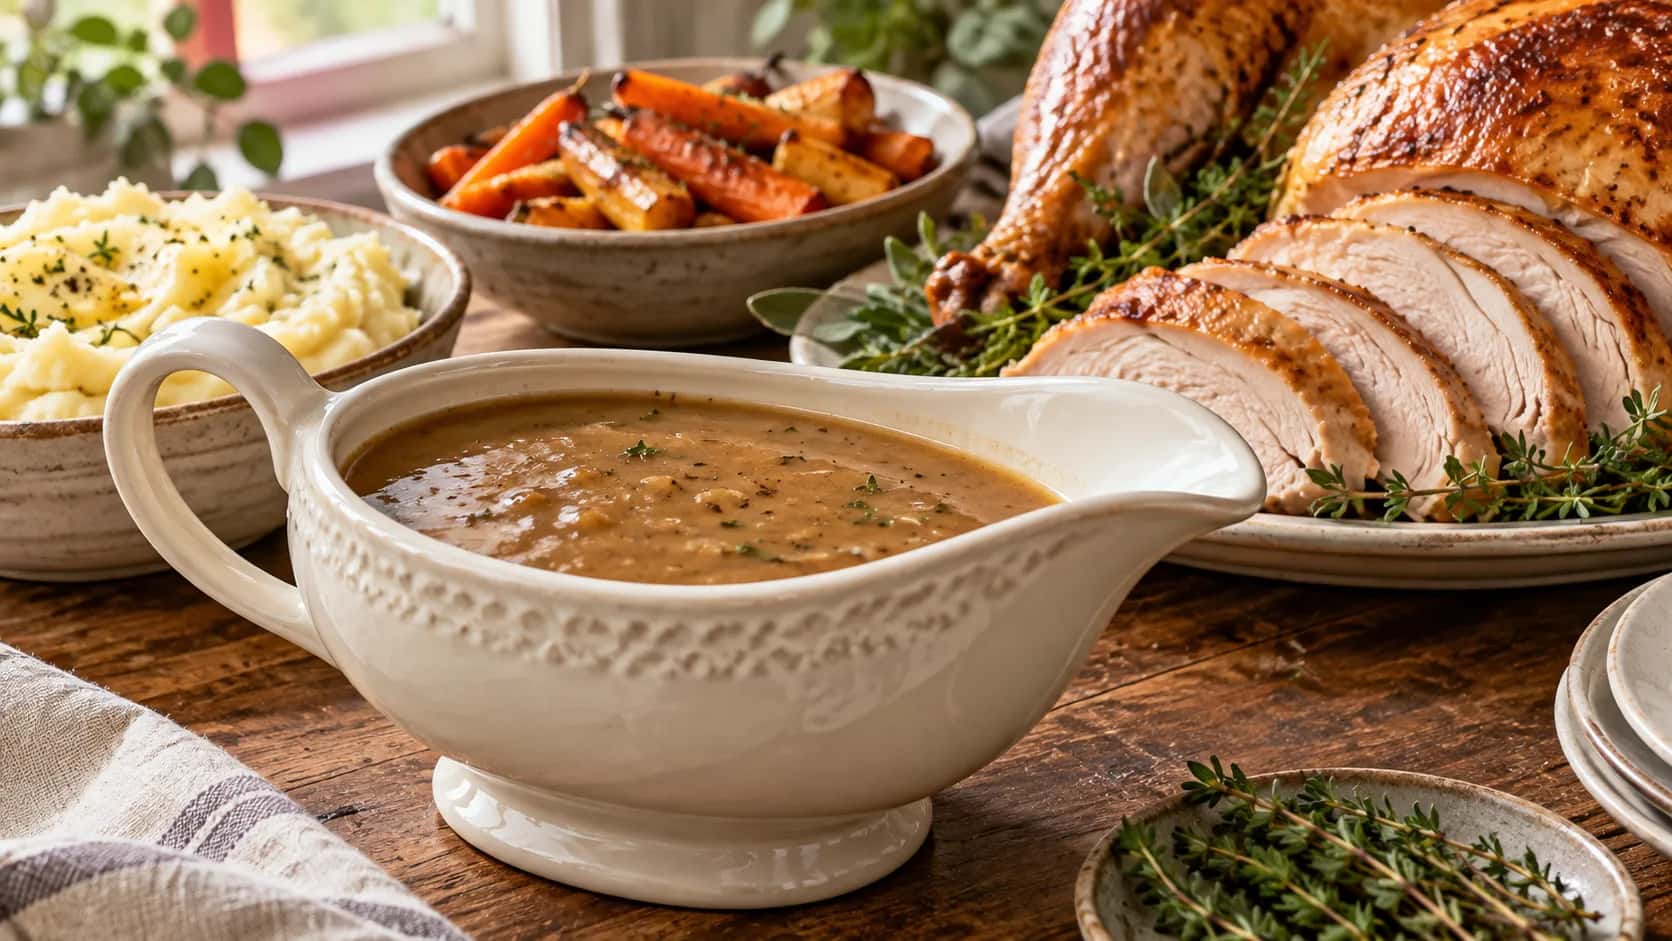
Easy Giblet Gravy Turkey Recipe: Rich Homemade Sauce
Make this giblet gravy turkey recipe with tender chopped giblets, savory broth, and a silky roux for an easy make-ahead sauce for roast turkey.
Turkey · Prep 15 minutes · Cook 1 hour
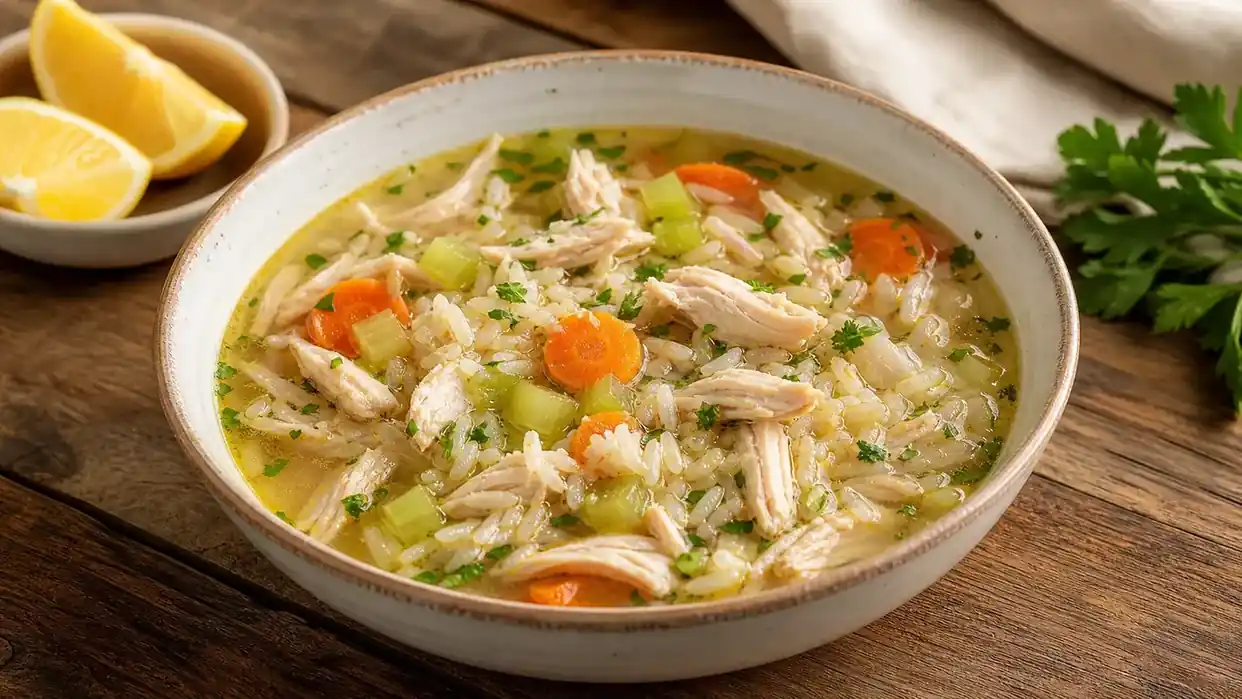
Easy Turkey Rice Soup Recipe (Comforting One-Pot Dinner)
This easy turkey rice soup recipe turns tender turkey, vegetables, rice, and savory broth into a comforting, wholesome one-pot dinner for busy nights.
Turkey · Prep 15 minutes · Cook 35 minutes